
In order to make PDF content more intuitive and attractive, we often need to edit images and text in PDF. But how to use LightPDF to delete and add pictures? This tutorial will explain in detail, please refer to the steps in this article. Please head on How to Edit PDF Text with LightPDF to know more about editting PDF contents.
Add image
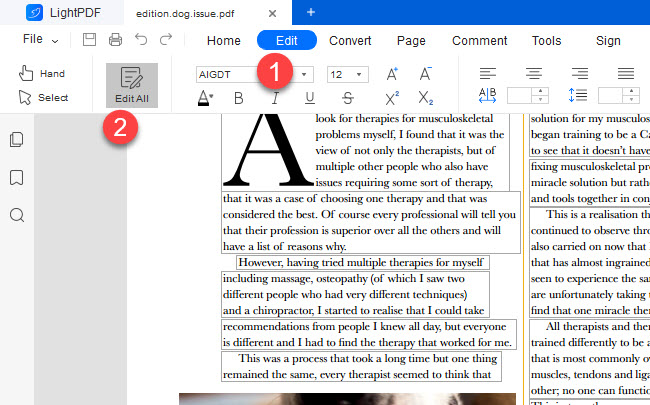
- If you want to add images in the PDF document, please select Edit in the toolbar first, and then click Edit All to switch to edit mode.
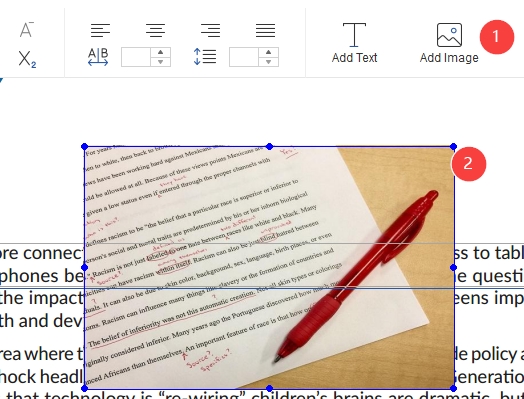
- Then, click Add Image in the edit bar, select the image you need to add in the local folder and click Open.
- After adding an image, you can select the image and drag it to adjust its position, or drag the border of the image to enlarge and reduce the size of the image.
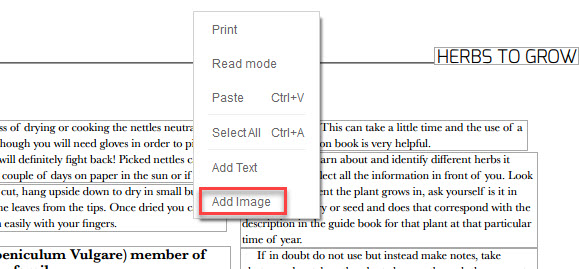
- In addition, if you are in edit mode, right-click and select Add Image to insert an image into the PDF.
Delete image
- If you want to delete an image, you also need to right-click the image in edit mode, and select Delete.

- You can also delete a picture by selecting it and pressing Delete on your keyboard.
Adjust image
- Adjust layer: If you want to place the text above the image, right-click the image and select Send to Back to place the image at the bottom of the text. If you want to place the image on top of the text, right-click and select Bring to Front and the image will be displayed above the text.
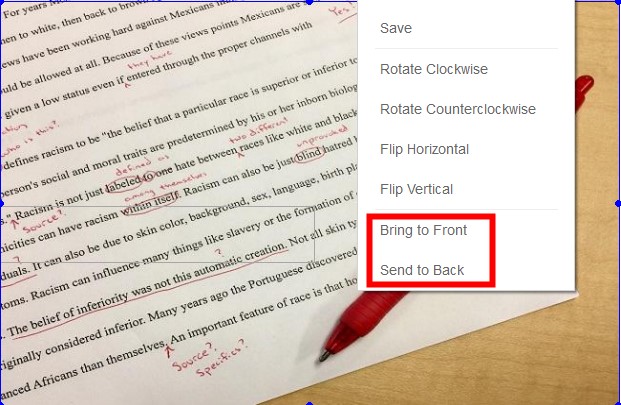
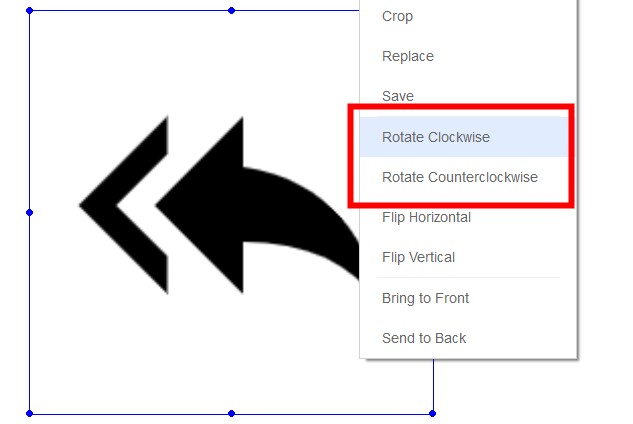
- Rotate: If you want to change the direction of the picture, right-click the image, then select Rotate Clockwise or Rotate Counterclockwise.
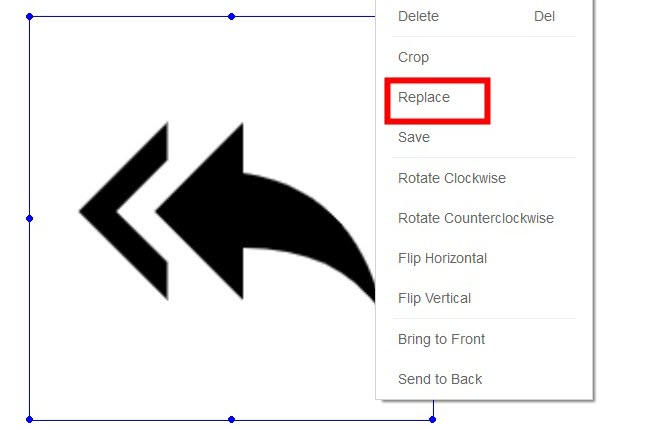
- Replace: Right-click the image, select Replace, choose the new image in the computer folder to replace the selected image.
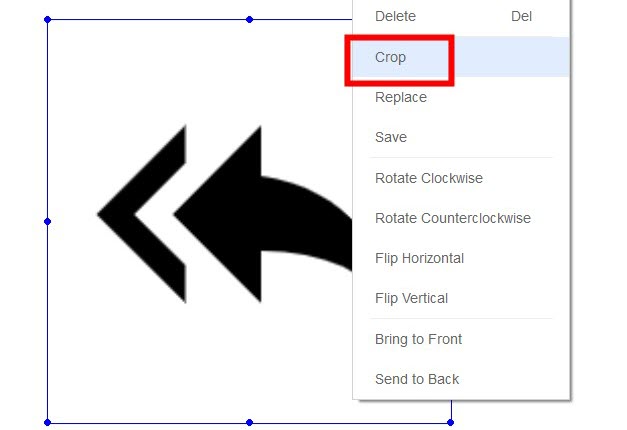
- Crop: Right-click the image, select Crop and drag the image border to crop.
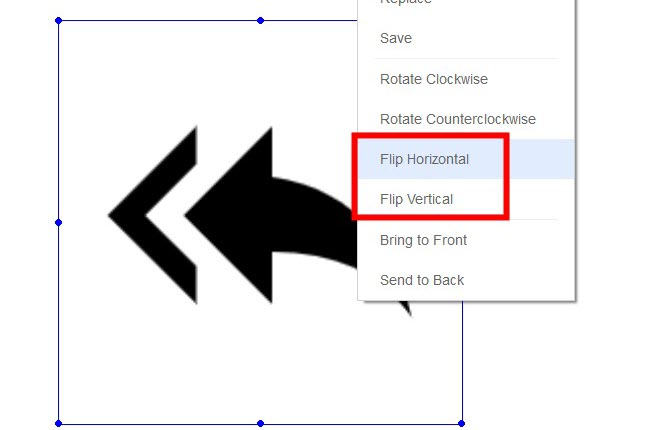
- Flip: Right-click the image and select Flip Horizontal or Flip Vertical.
If you encounter any problems with LightPDF, please feel free to contact us.


Leave a Comment